

Tesla door-mounted cameras, integral to vehicle safety, can suffer issues after repainting due to moisture intrusion, physical damage, or wiring disruptions. Post-repaint inspection is vital, and while waiting to install/calibrate cameras is recommended, adjustments may be needed for blackouts, distorted views, or connectivity problems. Repair involves locating and inspecting the camera housing, removing old cameras, cleaning, installing new ones, applying adhesive, testing functionality, and ensuring proper alignment using tools like a screwdriver. DIY enthusiasts can follow this guide but complex cases require professional Tesla door-mounted camera repair services from experts in tire services, automotive body work, or auto glass replacement.
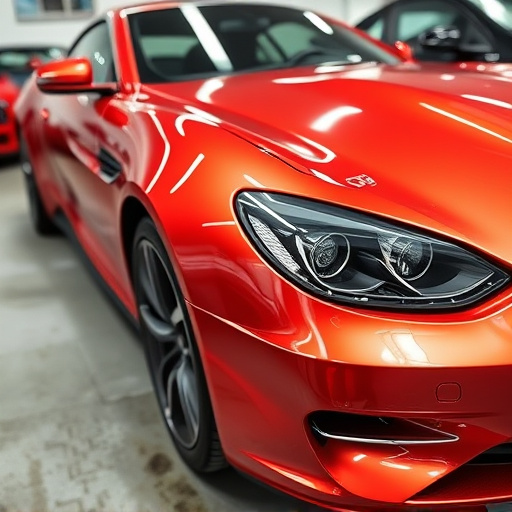
Tesla owners often face unique challenges when it comes to maintaining their vehicle’s advanced features. One such issue is the potential malfunction of the door-mounted camera, a key component in Tesla’s Autopilot system. This article explores why repainting your Tesla’s doors might require a subsequent repair of this camera. We’ll guide you through understanding common problems, the impact of repaint jobs, and provide a step-by-step process for fixing the camera yourself. Learn how to address this common Tesla maintenance task effectively.
- Understanding Tesla Door Mounted Camera Malfunctions
- Repainting and Its Impact on Camera Functionality
- Step-by-Step Guide to Repairing Your Tesla's Door Camera
Understanding Tesla Door Mounted Camera Malfunctions
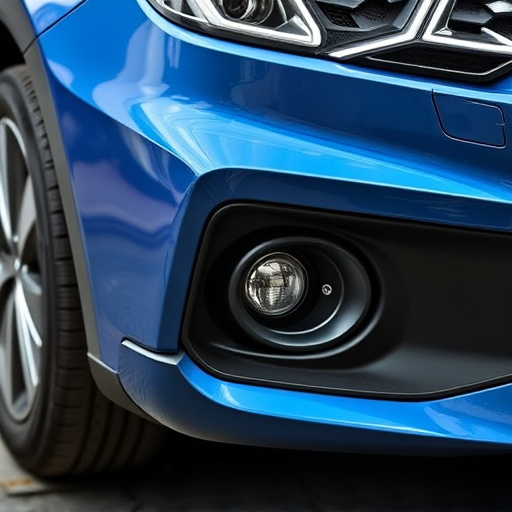
Tesla door mounted cameras are designed to enhance safety by providing a clear view of your surroundings while driving. However, these cameras can malfunction due to various reasons, such as exposure to harsh weather conditions or during vehicle paint repair processes. If your Tesla’s camera suddenly stops functioning properly after repainting, it could be indicative of several issues.
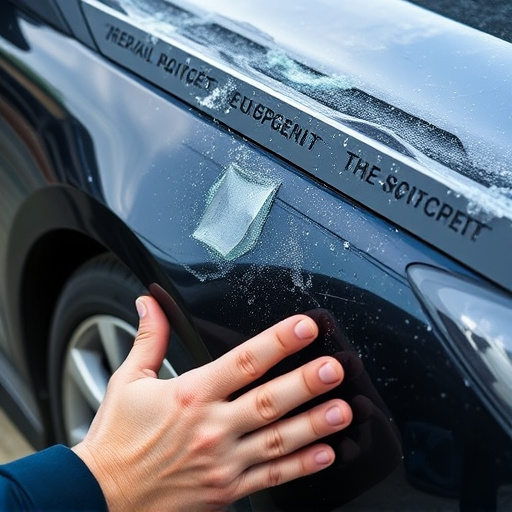
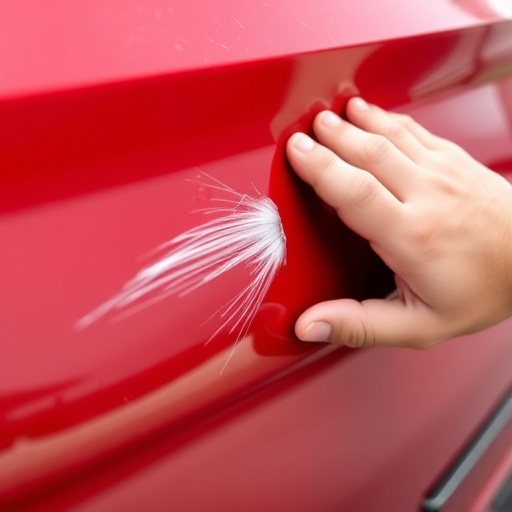
One common problem is moisture seepage into the camera housing, which may occur if the painting job wasn’t done meticulously, especially around the door seams and joints. Another possibility is damage to the camera itself during the repainting process, whether from direct contact with paint or tools used in the vehicle paint repair. Even minor disruptions to the camera’s wiring can lead to malfunctions, requiring professional Tesla door mounted camera repair for a seamless restoration of your car’s safety features.
Repainting and Its Impact on Camera Functionality
When repainting a Tesla, it’s crucial to understand the potential impact on integrated components like the door-mounted camera. The repainting process involves application of new coatings over existing hardware, which can sometimes disrupt sensors and wiring. In some cases, this may lead to malfunctions or connectivity issues with the Tesla door mounted camera after the paint job is complete. A thorough inspection post-repaint is essential to identify and address any such problems early on.
While professional automotive repair services recommend waiting until after repainting to install or calibrate cameras for optimal performance, occasional adjustments might be necessary. If you notice issues like camera blackouts, distorted views, or connectivity problems with your Tesla’s door mounted camera following a repaint, it could signal the need for specialized Tesla door mounted camera repair services. These repairs may range from simple adjustments and recalibrations to more complex hardware replacements, ensuring that your vehicle’s safety and monitoring capabilities are fully restored.
Step-by-Step Guide to Repairing Your Tesla's Door Camera

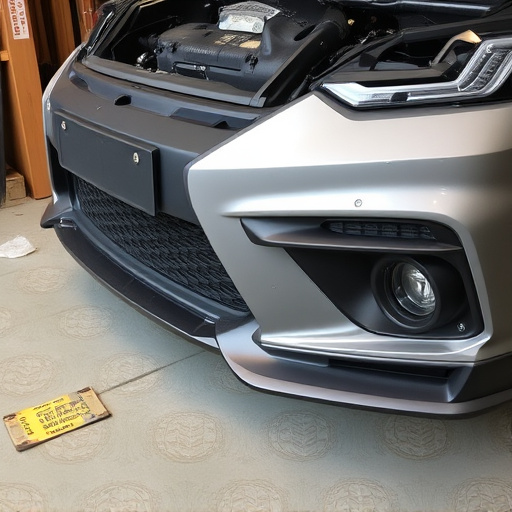
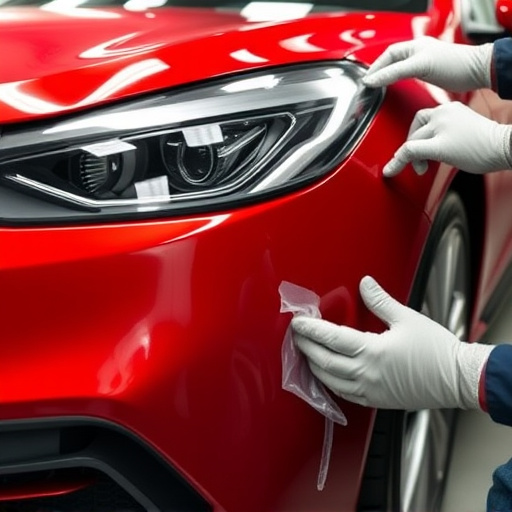
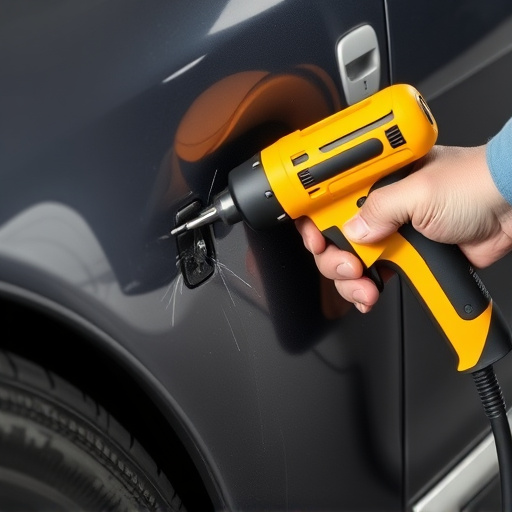
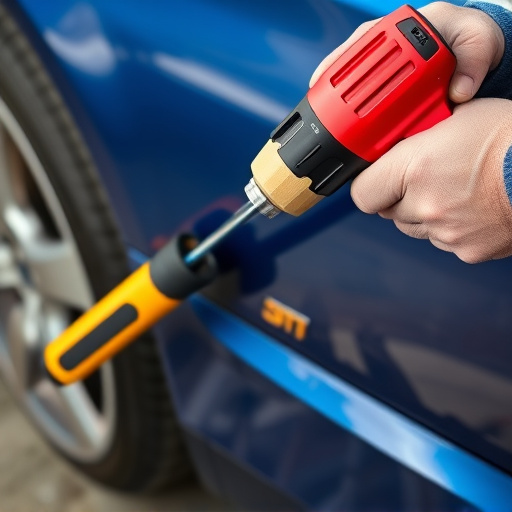
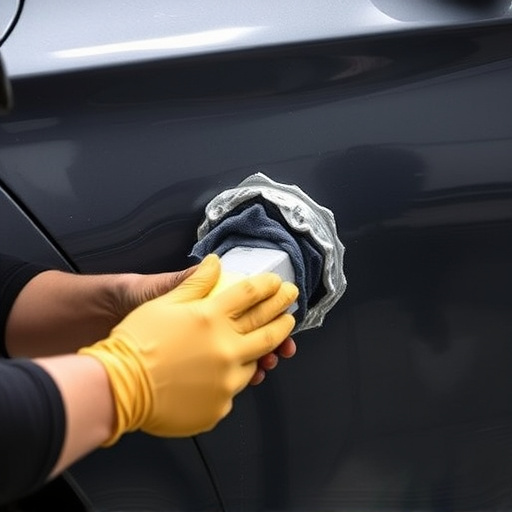
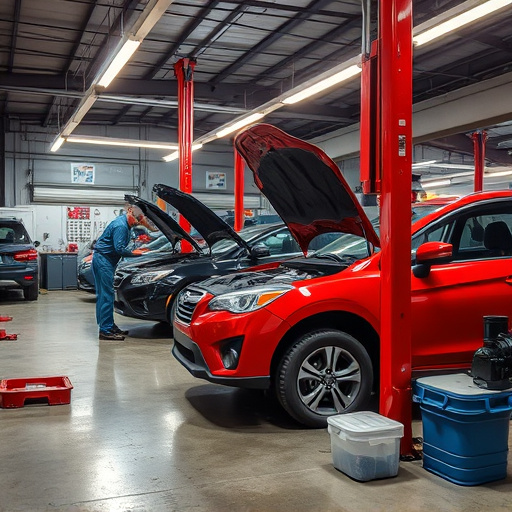
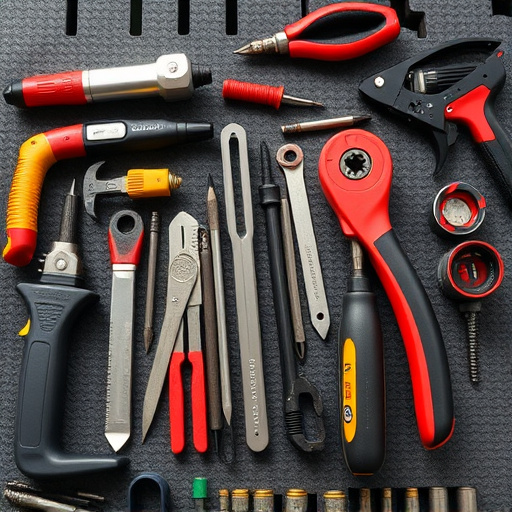
Repairs for a Tesla door-mounted camera after repainting involve a straightforward process that owners can undertake themselves. First, locate the camera housing on the exterior door. This is usually a small, sleek module integrated into the door’s design. Inspect the area around it to identify any gaps or signs of damage from the repainting process. Next, gather your tools: a screwdriver compatible with Tesla models, a new camera (if necessary), and some high-quality adhesive suitable for automotive use.
With your tools ready, carefully remove the old camera by unscrewing it from its mounting. Clean the area thoroughly to ensure optimal adhesion for the replacement. Install the new camera, securing it tightly with the screwdriver. Apply the adhesive around the camera’s edges, following the manufacturer’s instructions for curing time. Once cured, test the camera’s functionality, ensuring it captures clear footage and connects seamlessly to your Tesla’s system. Remember, proper alignment is key for optimal performance. For complex cases or those lacking confidence in their DIY skills, professional services like tire services, automotive body work, or auto glass replacement can offer expert assistance.
After repainting your Tesla, it’s not uncommon to experience issues with the door-mounted camera due to potential interference from the refinishing process. However, with a systematic approach, you can easily restore its functionality. By following the step-by-step guide provided, you’ll be equipped to troubleshoot and repair your Tesla’s door camera, ensuring optimal security and peace of mind. Remember, prompt action is key; don’t let a temporary malfunction turn into a persistent problem.