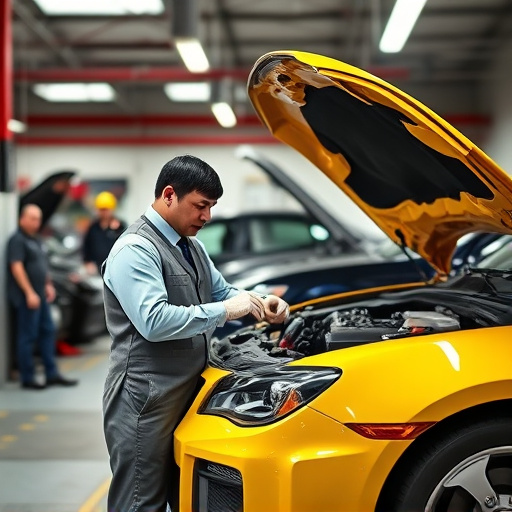

Tesla door-mounted camera repair requires specialized knowledge due to firmware synchronization needs and integration with security systems. Collision repair centers with Tesla expertise offer solutions, addressing both physical damage and outdated firmware for seamless restoration of driver safety features. This process involves a systematic approach, from gathering specific tools and parts to disassembly, inspection, firmware updates via the Tesla app, reinstallation, and functionality testing, ensuring optimal camera performance integrated with modern automotive technology.
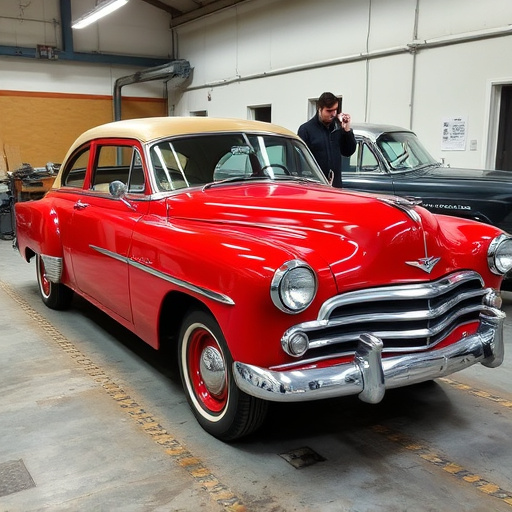
Tesla vehicles come equipped with advanced features, including door-mounted cameras for enhanced safety. However, these cameras can encounter issues, leading to concerns among owners. This article delves into the common problems with Tesla’s door-mounted cameras and offers a comprehensive guide to repairing them. We’ll focus on the critical aspect of firmware synchronization, explaining its role in ensuring a successful repair. By following our step-by-step instructions, you’ll be equipped to tackle these issues effectively.
- Understanding Tesla Door Mounted Camera Issues
- The Role of Firmware Synchronization in Repair
- Step-by-Step Guide to Fixing Your Tesla's Door Camera
Understanding Tesla Door Mounted Camera Issues

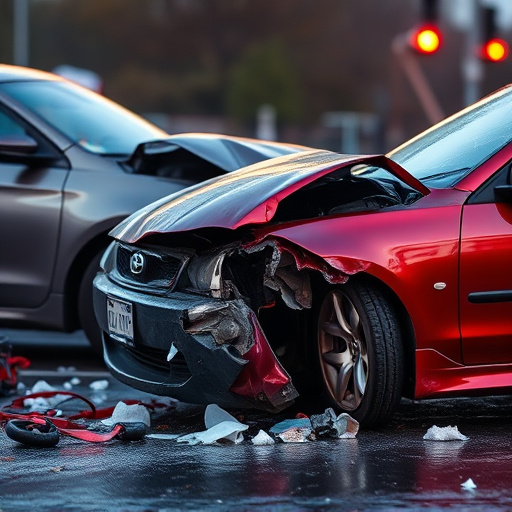
Tesla door mounted cameras are an integral part of modern vehicle safety features, designed to enhance driver awareness and protect against theft. However, like any electronic component, they can encounter issues that require Tesla door mounted camera repair. Common problems range from software glitches causing inconsistent footage, to physical damage resulting from accidents or vandalism. Identifying these issues is crucial for ensuring optimal vehicle security and peace of mind.
When a Tesla door mounted camera needs repair, it’s often not just a matter of replacing the hardware but also synchronizing the firmware. This process ensures the camera functions seamlessly with the vehicle’s overall security system. Many collision repair centers specialize in Tesla repairs, including camera fixes, offering expertise in both auto collision repair and the latest automotive technology.
The Role of Firmware Synchronization in Repair

Firmware synchronization plays a pivotal role in the intricate process of Tesla door mounted camera repair. It ensures that every component of the advanced imaging system functions seamlessly as an integrated whole, aligning both hardware and software for optimal performance. This meticulous step is crucial, given the sophisticated nature of modern automotive technology. By synchronizing firmware, technicians can address any discrepancies or outdated software, thereby restoring the camera’s ability to capture high-definition images with precision and clarity—essential for enhancing driver safety and vehicle security.
In the realm of car restoration, especially when dealing with cutting-edge features like door mounted cameras, proper firmware synchronization is akin to fine auto body work. It involves a meticulous dance of technical expertise, ensuring that every pixel, sensor, and processing unit works in harmony. This process isn’t merely about fixing a functional issue; it’s about preserving the integrity of the vehicle’s advanced systems, mirroring the meticulous craftsmanship seen in bumper repair or other intricate auto body work.
Step-by-Step Guide to Fixing Your Tesla's Door Camera

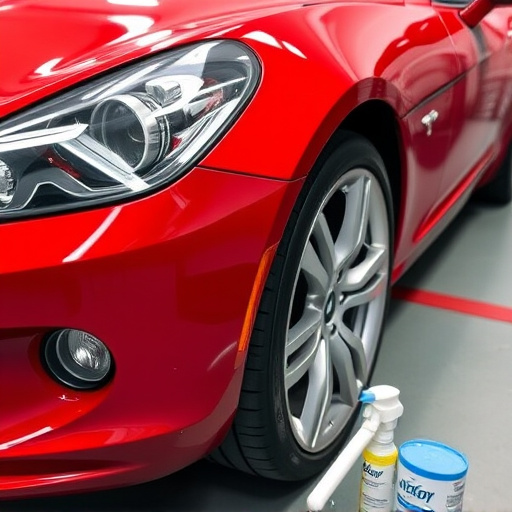
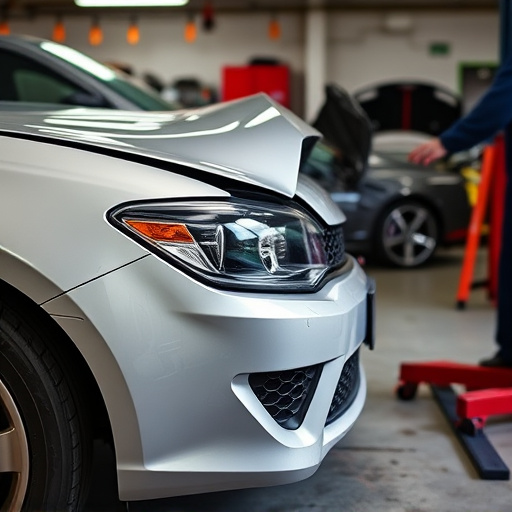
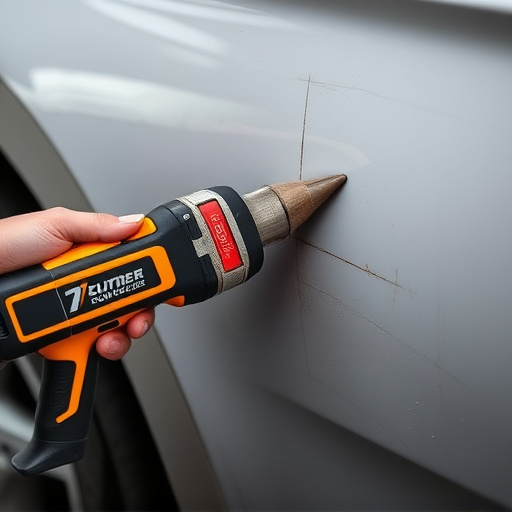
Fixing your Tesla’s door camera can be a straightforward process if approached systematically. First, gather all necessary tools and parts, including any replacement components specific to your Tesla model. Power down the vehicle and locate the camera assembly on the exterior door handle. This is typically a compact unit with wires connected to it. Before disassembling, take note of the cable connections for easy reattachment later.
Now, begin by carefully removing the old camera using suitable tools. Next, inspect the surrounding area for any signs of damage—a common issue in auto body painting or fender repair cases—and address these if needed. Once the camera is removed, compare it with a new one to ensure compatibility and install any required firmware updates through your Tesla app. After synchronizing, carefully put everything back together, ensuring each wire is correctly connected. Test the camera’s functionality before driving off, confirming its resolution and field of view match the original specifications.
In conclusion, repairing a Tesla door-mounted camera involves understanding common issues and leveraging firmware synchronization for successful resolution. By following a step-by-step guide tailored to this specific fix, owners can independently address problems, enhancing their vehicle’s security features. For any complexities or uncertainty, professional assistance is readily available. Remember, proper maintenance ensures your Tesla’s advanced technologies function optimally, contributing to a safer and smarter driving experience.