

Tesla door-mounted camera repair is crucial for lane change assistance safety. Misalignment causes inaccurate data transmission and potential accidents. Skilled technicians straighten frames to ensure proper sensor alignment, enhancing reliability. Regular maintenance prevents false warnings, improves driving experience, and aligns with safety standards. Replacing cameras involves disassembling, installing a new one, reconnecting wires, and testing performance for optimal lane change assistance.
Tesla owners often rely on their vehicle’s advanced safety features, including the door-mounted camera, to assist in lane changes. However, these cameras can malfunction, leading to potential safety risks. This article guides you through understanding common issues with your Tesla’s door-mounted camera and highlights why prompt repair is crucial for maintaining safe driving practices. We’ll also provide a step-by-step replacement guide to empower you with the knowledge to tackle this task effectively.
- Understanding Tesla Door Mounted Camera Malfunctions
- Benefits of Prompt Camera Repair for Safe Lane Changes
- Step-by-Step Guide to Replacing Your Tesla Door Camera
Understanding Tesla Door Mounted Camera Malfunctions
Tesla door mounted cameras are designed to aid drivers with lane change assistance, but malfunctions can occur due to various reasons. Issues might arise from sensor misalignment, causing the camera to provide inaccurate data for the vehicle’s safety systems. This could result in false warnings or, worse, a failure to detect lane markings entirely.
A simple yet effective solution is often Tesla door mounted camera repair. This process involves adjusting the camera’s position and ensuring its sensors are aligned correctly with the vehicle’s frame. Professionals at a reputable collision repair center can perform frame straightening techniques to correct any misalignment, enhancing the overall safety of the lane change assistance feature. Regular checks and timely repairs are essential in maintaining optimal vehicle performance and driver confidence.
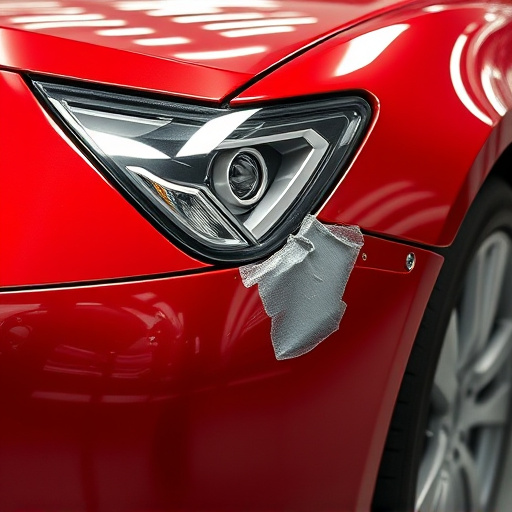
Benefits of Prompt Camera Repair for Safe Lane Changes
Prompt Tesla door mounted camera repair is crucial for maintaining safety during lane changes. A malfunctioned or damaged camera can lead to blind spots that put drivers at risk, especially on high-speed roads or in heavy traffic. By addressing issues swiftly, owners ensure they have a clear view of their surroundings, enabling them to make accurate and timely decisions while changing lanes.
Regular maintenance and quick repairs at a trusted collision repair center or auto body shop services can prevent accidents caused by poor visibility. This not only enhances the overall driving experience but also ensures compliance with safety standards. Keeping these cameras in optimal condition is a proactive step towards accident prevention, offering peace of mind for Tesla owners on every journey.
Step-by-Step Guide to Replacing Your Tesla Door Camera
Replacing your Tesla door-mounted camera is a straightforward process that can significantly enhance lane change safety and overall vehicle security. Here’s a step-by-step guide to help you through it, ensuring you’re back on the road in no time.
1. Safety First: Ensure your vehicle is parked securely on a level surface with the parking brake engaged. Turn off all power sources, including the engine and any accessories. This step is crucial for both safety and to avoid any accidental operation during the repair process.
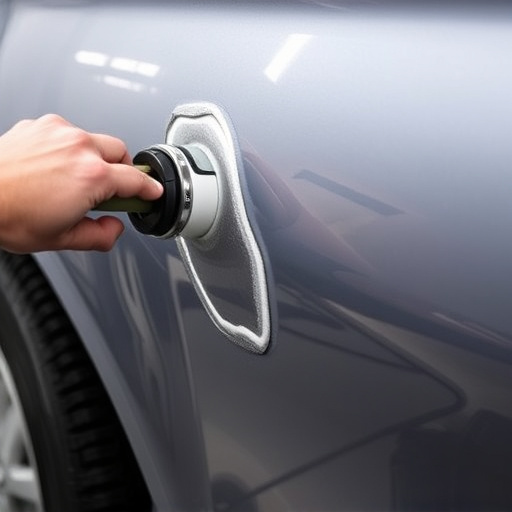
2. Access the Camera: Locate the door-mounted camera, usually near the handle or mirror assembly. Depending on your Tesla model, you might need to unclip or unscrew a cover panel to access it. Take note of how it’s attached to ensure proper reinstallation later.
3. Remove the Old Camera: Carefully detach the wires and connectors from the back of the camera module. You may need a small tool for this task. Once detached, gently pull the old camera out of its housing.
4. Prepare New Components: Obtain a replacement Tesla door-mounted camera or a compatible aftermarket option designed for your vehicle model. Follow any included instructions to connect and configure the new camera, ensuring it aligns perfectly with your vehicle’s specifications.
5. Reinstall and Test: Position the new camera back into its housing, securing it firmly in place. Reconnect all wires and ensure they’re properly plugged into the appropriate ports. Power on your Tesla and test the camera functionality to confirm a successful repair. If everything works as expected, you’ve successfully maintained lane change safety with your door-mounted camera replacement.
Maintaining optimal safety during lane changes is paramount when driving a Tesla. A malfunctioned door-mounted camera can hinder this, leading to potential accidents. Prompt repair of any issues with your Tesla’s door camera is crucial for enhancing driver awareness and ensuring safe lane changes. By following the step-by-step guide provided, you can efficiently address this concern, giving you greater peace of mind on the road. Remember, a well-maintained Tesla door mounted camera repair contributes to a safer driving experience overall.